
- Open the Retail Fireworks Permit Registration page.
- Click on “Buy a Permit” under the “Get Started” section.
- If you are purchasing a permit for the first time: In the first box, “Permit Holder,” select “INDIVIDUAL” or “ORGANIZATION” and fill in the information. Please make sure the “Phone Number” and “Sales Tax Number” have the proper dashes.
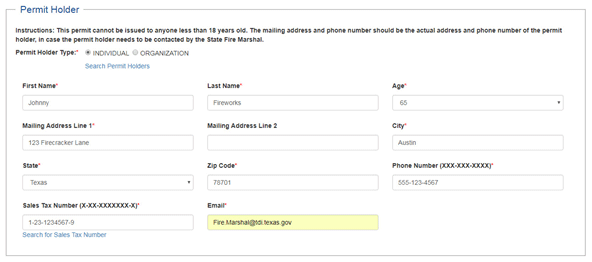
- If you are renewing permits or purchasing additional permits:
- In the first box, “Permit Holder,” select “INDIVIDUAL” or “ORGANIZATION.”
- Click on “Search Permit Holders.”
- Enter the first three letters of your name or organization.
- The box for “Sales Tax Number” will popup. Enter your sales tax number.
- Your name will fill in. Click OK.
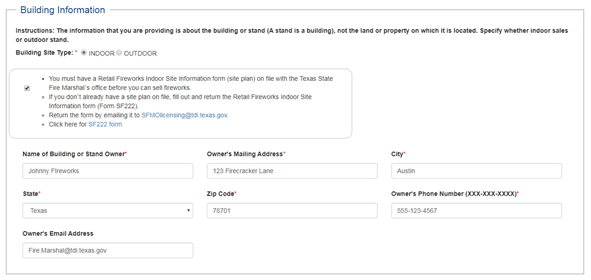
- In the second box, “Building Information,” select “INDOOR” or “OUTDOOR” and fill in the information. If you select “INDOOR,” please make sure you meet the requirements in the check box.
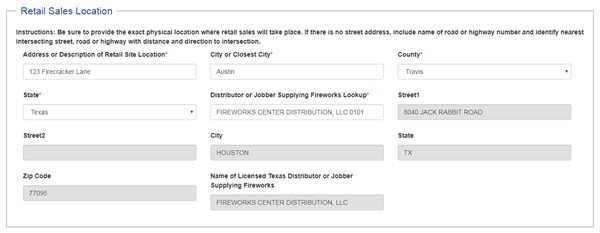
- In the third box, “Retail Sales Location,” please fill in the information. In the box “Distributor or Jobber Supplying Fireworks Lookup,” please enter the name of the distributor or jobber supplying your fireworks. Select their name when it pops up.
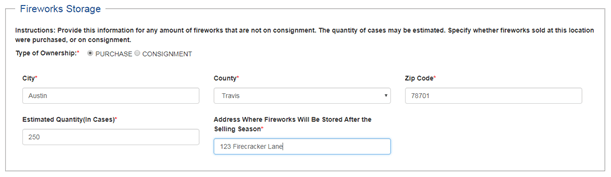
- In the fourth box, “Fireworks Storage,” select “PURCHASE” or “CONSIGNMENT.” If you select “PURCHASE,” please fill out the information.
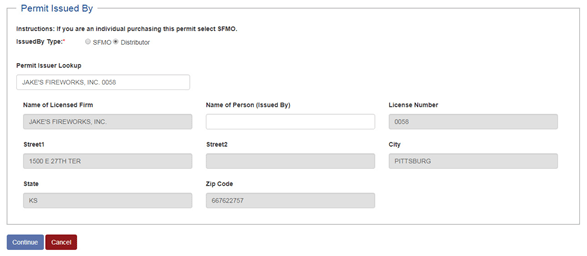
- In the fifth box, “Permit Issued By”:
- For Individuals, select “SFMO.
- For Distributors, select “Distributor.” Type in your name or permit number.
- The remaining information will fill in except “Name of Person (Issued By).” Please enter this information.
- Click “Continue.”
- In the box called “Attestations,” read and make sure you meet the requirements beside each check box. Click “Continue.”

- The next page is a review of your information. Please make sure all the information is accurate. If it is not, select “Edit” at the bottom. If your information is accurate, select “Submit.”

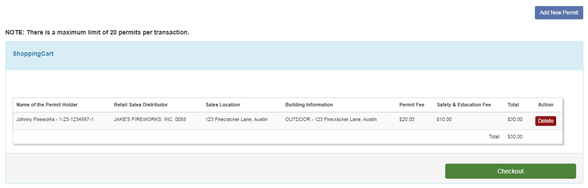
- The next screen will show the permits you are about to purchase. If you need to purchase another permit, click “Add New Permit.” If you are ready to pay, click “Checkout.”
- You will be taken to the payment page. Please fill in your credit card or bank information. You will get a payment receipt. This is not your permit. You will get that in the next step.
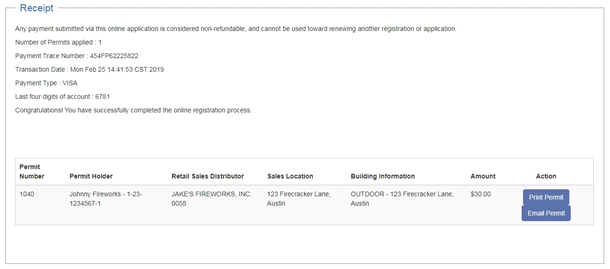
- After payment, you will be taken back to the permit page and shown your receipt. This is the page where you print your permit. Please select “Print Permit” and/or “Email Permit” before exiting the page.
Online retail fireworks permit registration guide
Last updated:
6/20/2023